About CellPita
CellPita is a tool for pasting image files into Excel by drag & drop. The image size is automatically adjusted to the cell size and pasted.
✔ Paste position and margins can be specified, such as centered, left-aligned, etc.
✔ Multiple batch pasting function, automatically recognizing the next pasted cell based on the size of the first pasted cell.
✔ File name and shooting date and time can be input at the same time.
✔ Multiple Excel files can be batch saved to PDF.
Dramatically eases the time and effort of pasting photos in construction photo ledgers and album books.
・For photo ledgers of construction work
・Creation of personal album books

広告
How to Use
Paste Image
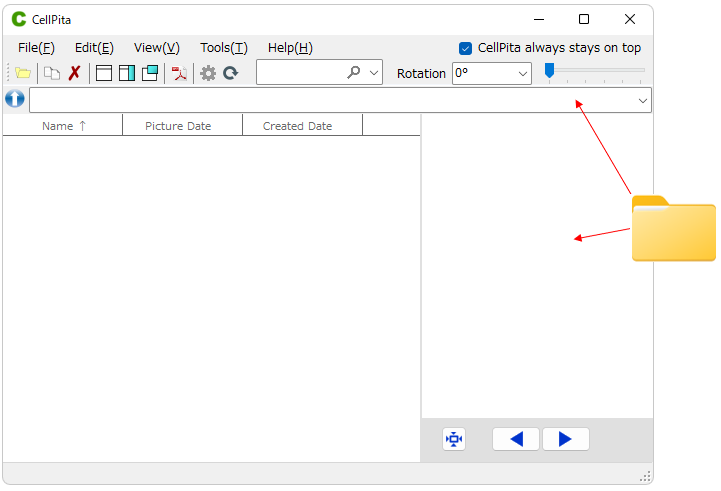
Launch CellPita and drag & drop any folder/file to the address bar or preview screen.
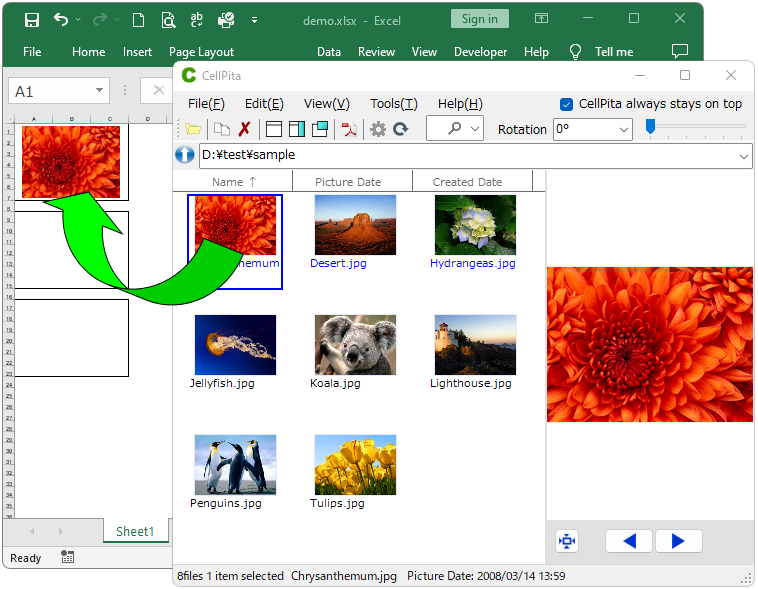
Open an Excel file and drag and drop the image to the cell where you want to paste it. The size of the image will be automatically adjusted to fit in the cell to which it is dragged and pasted. The combined cell is considered as one cell.
Multiple files can be inserted at once by dragging and dropping multiple files. Using the first image file you drag and drop as the base point, the program automatically recognizes the cell into which the second and subsequent images will be inserted. Images can be pasted in the left-to-right or top-to-bottom Z direction.
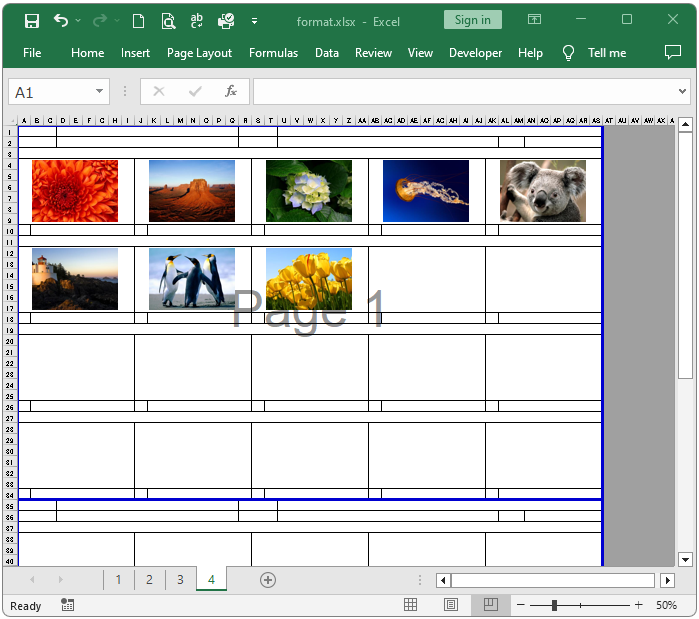
2 horizontal sheets → batch insert into vertical format (in the example, batch insert 6 sheets)
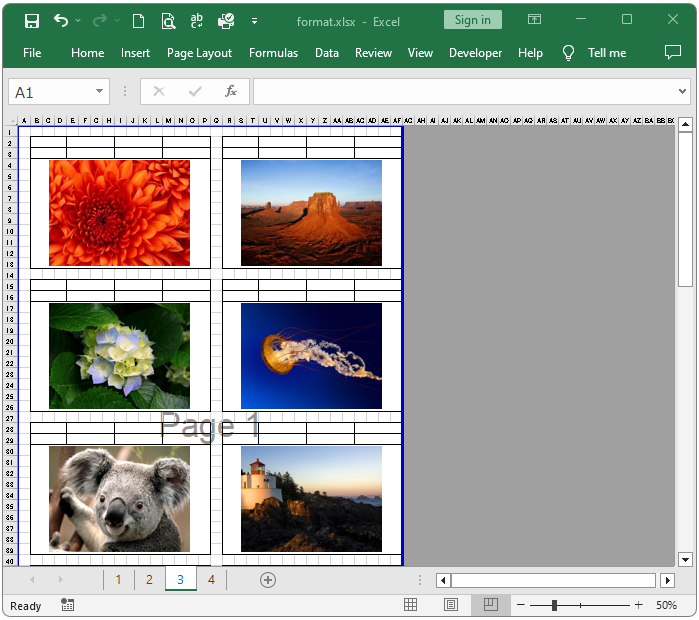
5 horizontal sheets → batch insert into vertical format (in the example, 9 sheets are inserted at once)
PDF Batch Save
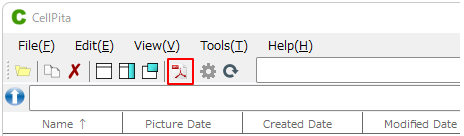
Click the PDF icon on the menu bar.
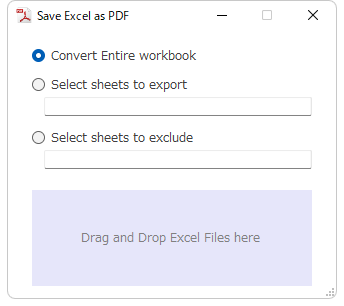
Drag and drop Excel files at the bottom of the screen to save PDF files sequentially. Multiple files can be dragged and dropped and saved as a batch.
広告
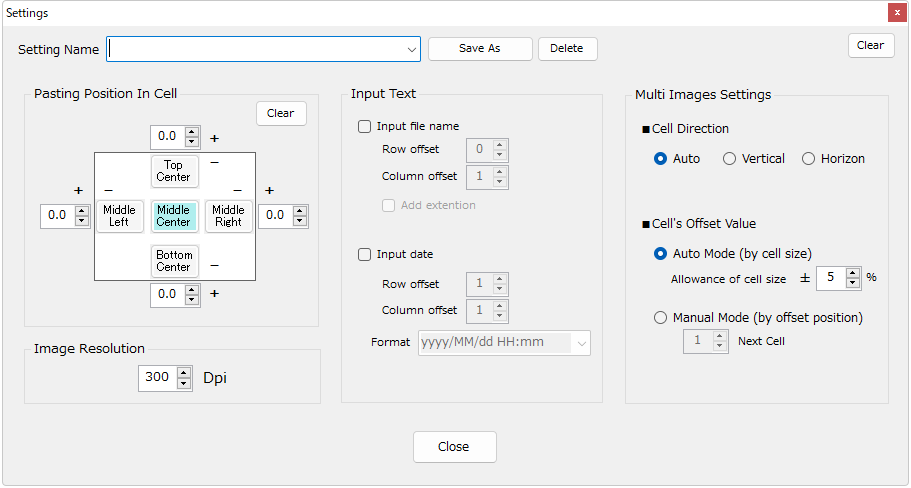
Settings
CellPita allows various adjustments when pasting images.
- Paste position in cell
- Image resolution
- Offset value
- Text input (file name, date and time of shooting)
Click on the settings icon in the menu bar.
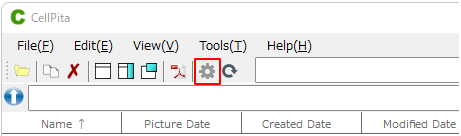
The setting screen opens.
Save Settings
You can save the settings with any name. Saved settings can be recalled from the setting name pull-down menu.

Paste position in cell
Sets the position of the paste in the Excel cell.
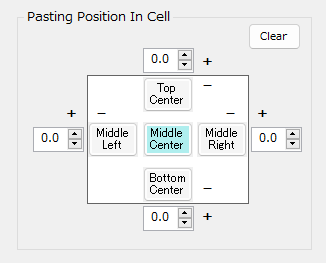
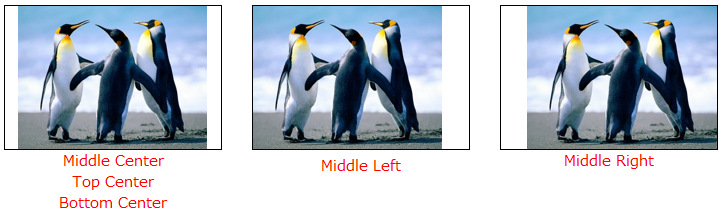
Pasting position
●Cases where the cell width is wide and the image is long and wide
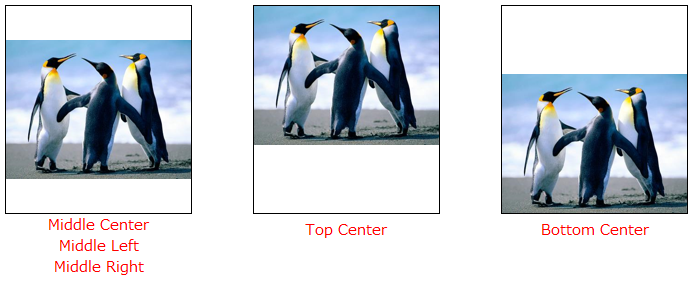
●Cases where the cell width is vertical and the image is horizontal
Offset
Sets the offset value for the cell paste position. Minus value adjusts the size of the image to the inside of the cell, and plus value adjusts the size of the image to the outside of the cell. Use this option when you want to paste the image inside the cell with a little more margin than the border.
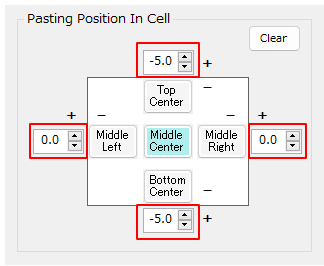
Example: Top – 5.0, Bottom – 5.0
Image Resolution
Specify a resolution between 50 and 600 dpi when pasting into Excel.

Text Input
The coordinates of the upper left cell of the image are set to “0,0” and the file name and shooting date and time are written in the cell with the specified offset value.
The format of the shooting date and time can be selected from the options, such as “yyyy/MM/dd HH:mm,” but the format on the Excel side takes precedence. If the date format is not as specified in CellPita, check the Excel cell format and set the appropriate format.
Example of text input: If the upper left “B2” cell of the image is set as the reference coordinate “0,0”, the file name is 0 at the top and bottom and the seventh cell position “0,7” at the right. The date and time of shooting is 1 at the bottom and “1,7” at the seventh cell position to the right.

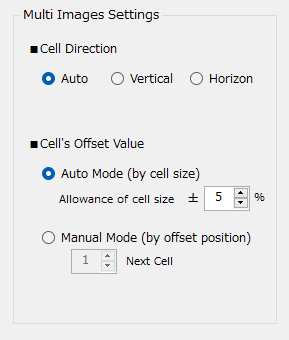
Multiple Image Paste Settings
Configure settings for batch pasting of multiple images.
■Cell Progression
- Automatic: It is pasted in the Z direction from left to right and from top to bottom.
- Vertical: It is pasted vertically.
- Horizontal: It is pasted horizontally.
■Next Cell Division
- Automatic mode (cell size-based): The cell where the second and subsequent images will be inserted is automatically recognized based on the first image file that was dragged and dropped. Next Cell Size Allowance” adjusts the allowable value as the same size as the cell size of the first image file. The default is -5% to 5%.
- Manual mode (specified by offset position): Specifies the cell position regardless of the size of the first image file.